Step 1: Get source tarballs
First you need to download Speed Dreams source tarballs from the project page.
These are files you will need (version and revision numbers may differ):
speed-dreams-src-base-2.2.0-r6381.tar.xz- core components of the game;speed-dreams-src-hq-cars-and-tracks-2.2.0-r6381.tar.xz- LS-GT1 and 36GP cars and AI drivers, HQ tracks;speed-dreams-src-more-hq-cars-and-tracks-2.2.0-r6381.tar.xz- TRB1 cars and AI drivers, more HQ tracks, and the Career mode;speed-dreams-src-wip-cars-and-tracks-2.2.0-r6381.tar.xz- work-in-progress MP5, LS-GT2 and RS cars and AI drivers, and many other tracks;speed-dreams-src-unmaintained-2.2.0-r6381.tar.xz- unmaintained Simu V2.1 engine and maybe something else, but do you really need this?
Unpack base tarball first, then hq-cars-and-tracks, then more-hq-cars-and-tracks, etc. Choose to rewrite files / folders in the case of conflicts.
Step 2: Install development libraries
Second, install required development libraries. If you on Debian or Ubuntu, use following command:
sudo apt-get install build-essential \
cmake \
libplib-dev \
alsoft-conf \
libogg-dev \
libenet-dev \
libexpat1-dev \
libpng12-dev \
libjpeg8-dev \
libplib-dev \
libopenscenegraph-dev \
libsdl2-dev
For other GNU/Linux distributions, consult with Pre-requisites section of INSTALL.txt file in the source folder.
Note that the OpenSceneGraph and SDL 2 dependencies were introduced in the Speed Dreams 2.2.0. You don’t need them for 2.1.0 version.
Step 3: Configure & build
Third step - create build subfolder inside the source folder, where you have extracted source tarballs. From this folder you need to invoke cmake with some options (see below).
mkdir build
cd build
cmake -D OPTION_OFFICIAL_ONLY:BOOL=ON -D PLIB_INCLUDE_DIR="/usr/include/plib" ..
This will configure source, and if something required is missing you will see an error message. This generally means that you should install some missing dependencies (additional development libraries). In case of other problems, it’s time to read the manual - see INSTALL.txt file in the source folder.
If cmake finish without errors, it’s time to perform build and install:
make
sudo make install
This will install main executable to the /usr/local/games/speed-dreams-2 and data files to the /usr/local/share/games/speed-dreams-2, so the game will be available system-wide.
Step 4: Create game shortcut
Note that Speed Dreams install won’t create a shortcut (FreeDesktop.org .desktop file) anywhere. So now it’s your move to create one!
You generally would like to add shortcut with an icon. The source does not provide us with one, so let’s search over the Internet. I’ve got one from Wikipedia.
When you got the icon, copy it to /usr/share/pixmaps/speed-dreams.svg. Then create speed-dreams-2.desktop text file (see content below), copy it to /usr/local/share/applications folder and set executable flag (may or may not be required). These operations should require root access.
[Desktop Entry]
Encoding=UTF-8
Version=1.0
Type=Application
Icon=speed-dreams
Name=Speed Dreams
Exec=speed-dreams-2
Comment=Speed Dreams: an Open Motorsport Sim
Categories=Game;SportsGame;Simulation
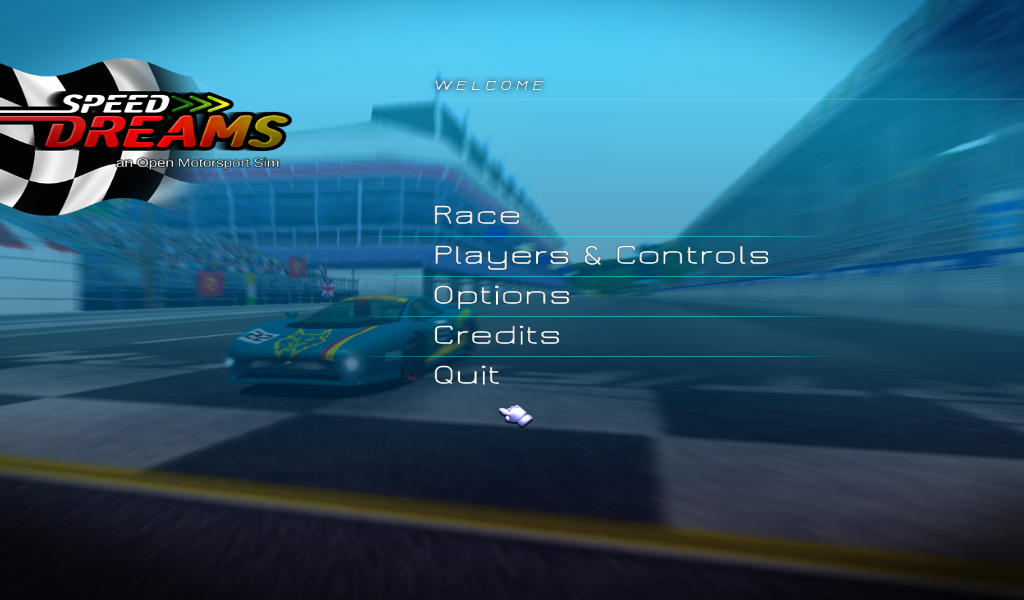
Now you should see Speed Dreams shortcut in the main menu of your desktop.
Step 5: Enjoy the game!
It’s all about it, you know…
Upgrade to new version
In order to safely upgrade your Speed Dreams installation to new version, you should uninstall old one first.
To do so, go to the build subfolder you’ve created inside the source folder, and invoke sudo make uninstall.
Then you can safely clear source folder, get & unpack source packages, configure and build.